Deploy on Azure Static Web Apps
How to deploy a Nuxt application on Azure Static Web Apps?
You can deploy your static sites to Azure using Azure Static Web Apps. You will need to have your app in GitHub as Azure Static Web Apps leverages GitHub Actions which allow you to re-build your static site on every git push.
There are 2 things you need to configure in order to deploy your app to Azure static web apps. The first one is to modify the build command as Azure reads the build command from your package.json and for static sites we need to use the generate command.
package.json
build: "nuxt generate"
The second one is to add a routes.json file which is important for catching custom 404 pages and spa fallback pages.
static/routes.json
{
 "routes": [],
 "platformErrorOverrides": [
   {
    "errorType": "NotFound",
    "serve": "/200.html",
    "statusCode": 200
   }
 ]
}
If you want to test out deploying to Azure static web apps, we have created a small demo application that is all setup and configured. You will just need to clone it and add it to your GitHub repo. You can then follow the steps on - Deploying your app with Azure Static Web Apps.
Deploying your app with Azure Static Web Apps
Step 1: Create Azure static web apps
- Navigate to the Azure Portal .
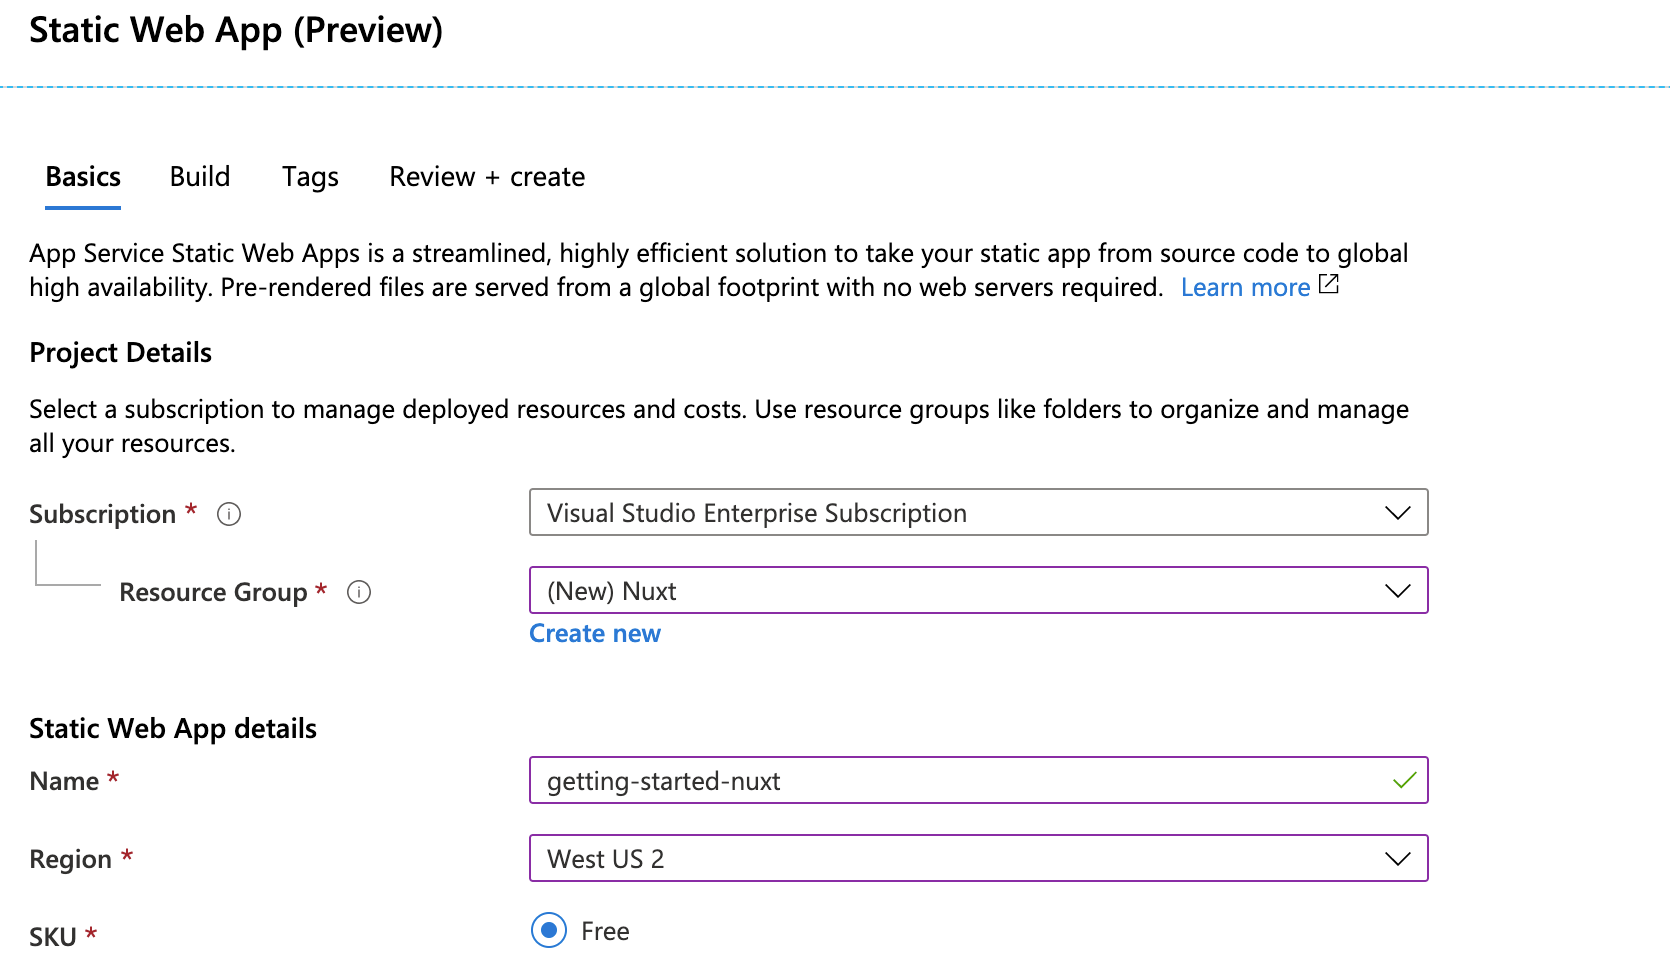
- Click Create a Resource then search for Static App and select it.
- Select a subscription from the Subscription drop-down list or use the default one.
- Click the New link below the Resource group dropdown. In New resource group name, type nuxt and click OK
-
Provide a globally unique name for your app in the Name text box. Valid characters include
a-z,A-Z,0-9, and-. The app name is used to identify the app in your list of resources therefore it is a good idea to name your app using the name of your repository. - In the Region dropdown, choose a region closest to you.

Step 2: Add a GitHub repository
Azure App Service Static App needs access to the repository where your Nuxt app lives so it can automatically deploy commits:
- Click the Sign in with GitHub button
- Select the Organization under which you created the repo for your Nuxt project. It can also be your GitHub username.
- Find the name of the repository you created earlier and select it.
- Choose master as the branch from the Branch dropdown.

Step 3: Configure the build process
There are few things that Azure App Service Static App can assume - things like automatically installing npm modules and running npm run build. There are also few you have to be explicit about, like what folder will the static app be copied to after build so the static site can be served from there.
- Click on the Build tab to configure the static output folder.
- Type dist in the App artifact location text box.

Step 4: Review and create
- Click the Review + Create button to verify the details are all correct.
- Click Create to start the creation of the resource and also provision a GitHub Action for deployment.
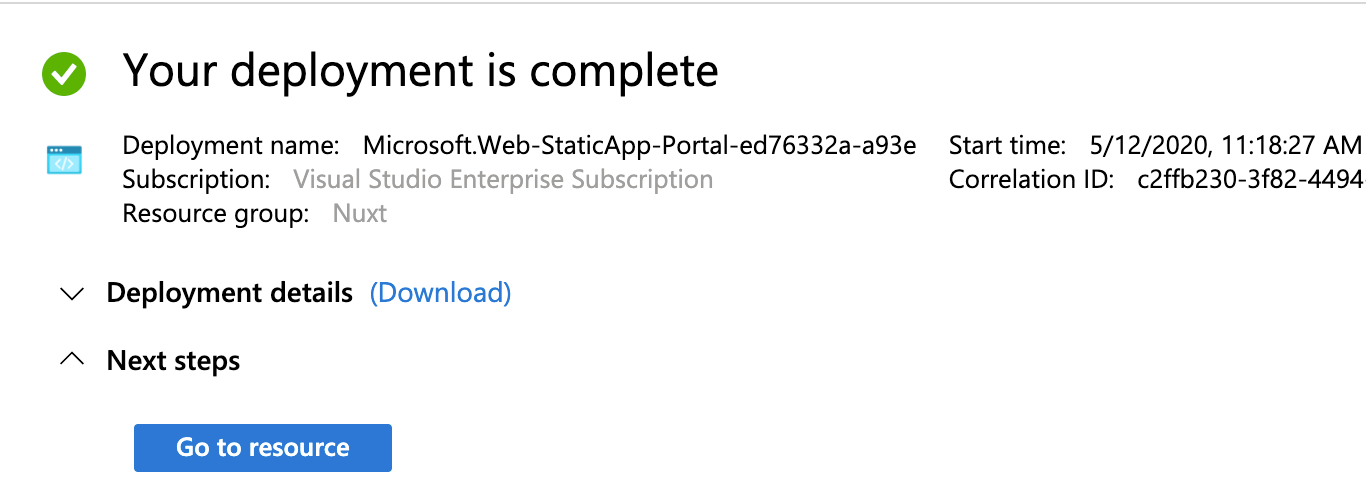
- Once the deployment is completed, click Go to resource

- On the resource screen, click the URL link to open your deployed application.

Congrats your static site is now hosted on Azure static web apps.
Rebuild your static app and monitoring deployment
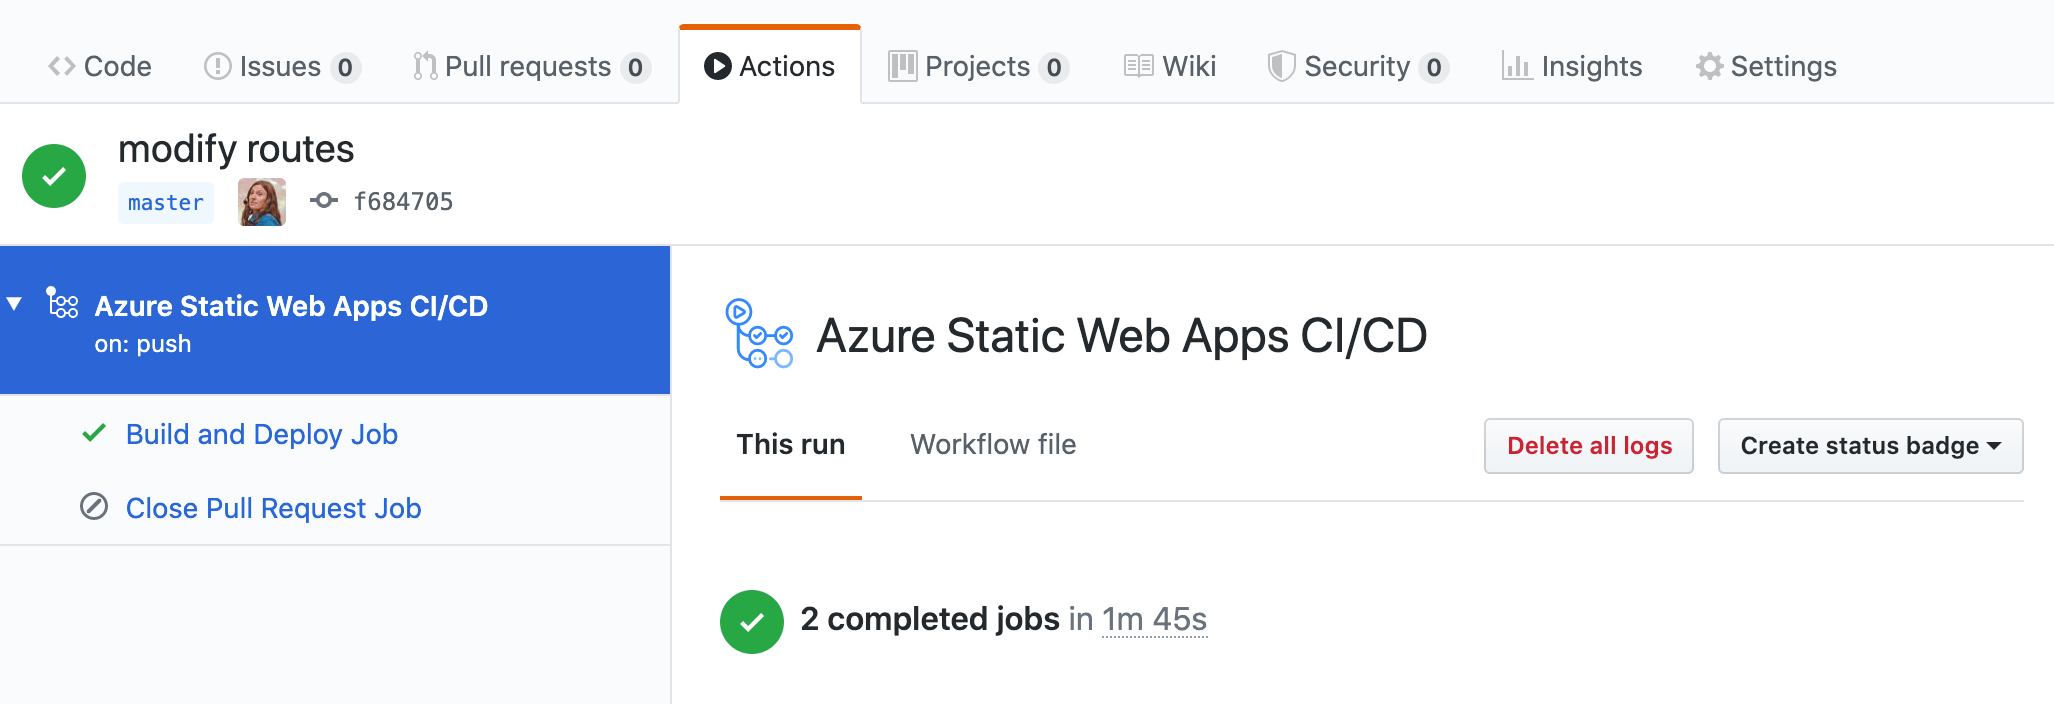
Now all you have to do is modify your code and push your changes. Pushing your changes will activate a GitHub action and your new site will automatically rebuild. You can monitor the workflow by clicking on the actions tab in your GitHub repo and you can inspect even further by selecting the last commit you made. You can then watch to see when the deploy is finished or inspect the log if you have any deployment errors.

Did you know?
How to handle dynamic routes
If you are working with dynamic pages such as _id.vue then you you will need to add these routes to the generate property in your nuxt config.
See the documentation on how to handle dynamic routes.
How to add an error page
In order to not have the default 404 page you can create an error.vue file in your layouts folder.
How to add SPA fallback
If you would like some pages to not be generated but act as a single page application you can do so using the generate.excludes property in your nuxt.config file.